Supplies Needed:
- Vacutainer® Vial
- Double-sided needle
- Needle holder
Be sure to check which type of vial is required for your desired test type.
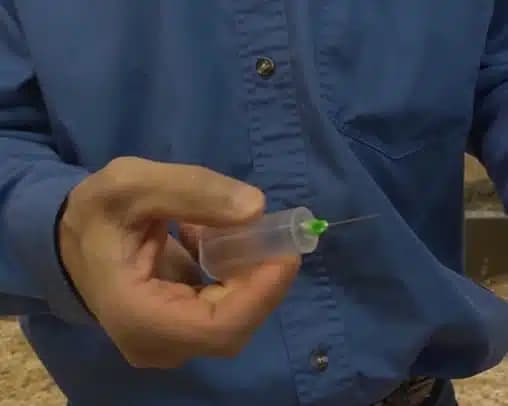
Step 1:
- Screw needle into needle holder
- Insert the Vacutainer vial into the holder
- DO NOT puncture the vial stopper
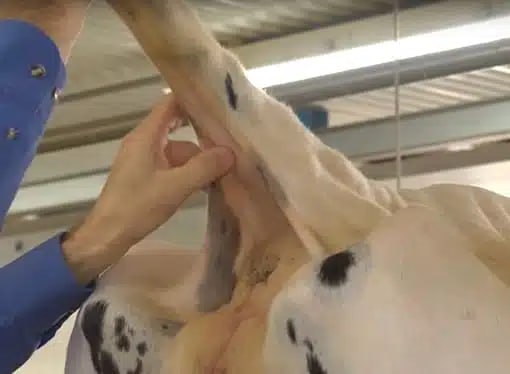
Step 2:
- Lift the tail straight up and clean area
- Find the midline groove 4 to 6 inches from the base of the tail
- Insert the needle about ¼ inch into the groove, perpendicular to the underside of the tail
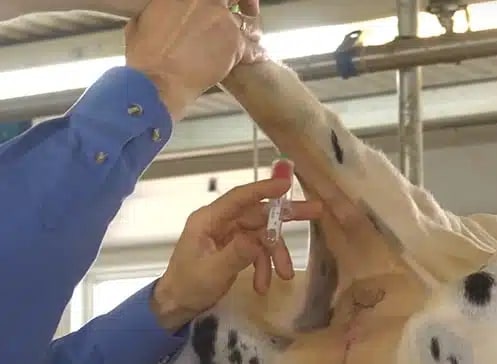
Step 3:
- Engage the vacuum by pressing the vial up puncturing the stopper
- If blood does not flow, carefully redirect the needle
- DO NOT remove the needle from the tail
Step 4:
- Once blood begins to flow maintain needle position
- Collect a minimum of 4cc of blood
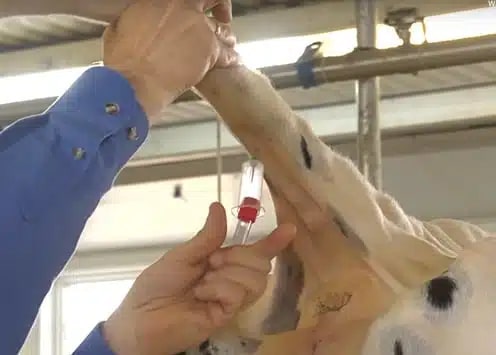
Step 5:
- Disengage the vial from the holder BEFORE removing needle from the tail
Step 6:
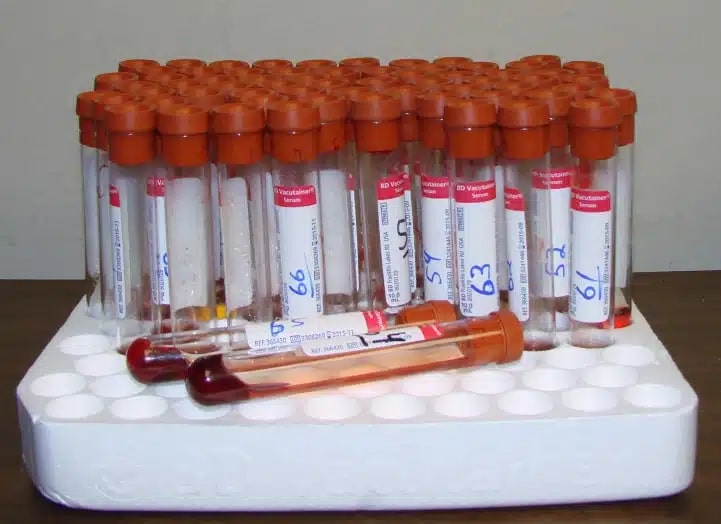
- Clearly label vials with animal identification
- Fill out a sample submission form
Step 7:
- Keep vials at room temperature to allow clotting (1 to 2 hours)
- Once clotted, keep samples refrigerated until submitted to the lab


